How to sign documents on iPad
Updated
To sign a document on iPad, open it in the Files app, tap the Add button, then tap Add Signature. Sign with your finger or Apple Pencil, tap Done, and drag the signature where it belongs. Your iPad saves the signature, so next time you just tap it.
iPadOS steps below were checked against Apple’s iPad User Guide for iPadOS 26 and iPadOS 27.
Before you start
Get the document onto your iPad. A PDF in the Files app or attached to an email works. If your iPad asks you to open the document in the Files app, do that, then tap Save.
Know what kind of signature this is. Apple’s Markup and the app in this guide both put your handwritten signature on the page as an image. Some documents need a certificate-based digital signature instead. Whether a signature added on a tablet is accepted depends on the document and the country, so if you’re unsure, ask whoever sent it.
Sign a PDF or form in the Files app
The Files app can fill out forms and add your signature without any extra app.
- Open the Files app and tap the document to open it.
- Tap the AutoFill button, then tap a blank field to type into it.
- Tap the Add button, then tap Add Signature.
- Sign your name with your finger or Apple Pencil, then tap Done.
- Drag your signature to where it belongs on the page.
To resize the signature, drag any of the blue dots around it. To start over while you’re signing, tap Clear and sign again. If there’s no field where you need text, such as a date, tap the Add button, then Add Text Form Box.
When you’re finished, how you send or keep the document depends on your iPadOS version:
- iPadOS 27: Tap the Menu button, then tap Export, Print or the Share button. Tap the Back button to save the document.
- iPadOS 26: Tap the Share button to send it with Mail, Messages or AirDrop, then tap Done to close the document.
If you’ve filled in your My Card in the Contacts app, AutoFill can complete supported forms with your details.
Sign an email attachment in Mail
You can sign an attachment and send it back without saving it first.
- Open the email in Mail and tap the attachment.
- Tap the Markup button.
- In the Markup toolbar, tap the Add button, then tap Add Signature.
- Tap a saved signature, or sign and tap Done.
- Drag the signature into place.
- Tap the More button, then choose to reply to the sender, start a new message, or save the signed attachment to your files.
Using Apple Pencil with Markup
Markup works with your finger or with Apple Pencil on supported iPad models. Either way, the result is the same kind of signature: an image placed on the page. Your iPad keeps every signature you create, and you can store more than one, such as your full signature and your initials.
- In the Markup toolbar, tap the Add button, then tap Add Signature.
- Tap Add or Remove Signature, then tap the Add button.
- To label it, tap the Menu button next to New Signature and choose a label, such as initials or nickname.
- Sign with your finger or Apple Pencil, then tap Done.
To delete a signature, open the same list with Add or Remove Signature and tap the Delete button next to it.
Scan a paper document with the iPad camera
On supported iPad models, the Camera app can find a document in the frame and scan it.
- Open Camera and make sure it’s in Photo mode.
- Point your iPad at the page, then tap Scan Document. Your iPad captures it automatically.
- Repeat for more pages. Tap a thumbnail to edit or delete a scan.
- Tap Done, tap Save to Files, then tap Save.
Once the scan is in Files, sign it the same way as any other PDF.
Sign with your paper signature using eSign Documents
A signature drawn on glass often looks different from the one you write with a pen. If you’d rather use your real signature, or you have a stack of paper pages to sign, eSign Documents runs on iPad as well as iPhone.
- Draw or scan your signature. Draw it with your finger in black, blue, red or any color, in three line widths, with undo and redo. Or scan the signature you wrote on paper: it’s detected, cropped and its background removed. You can also import a photo of it.
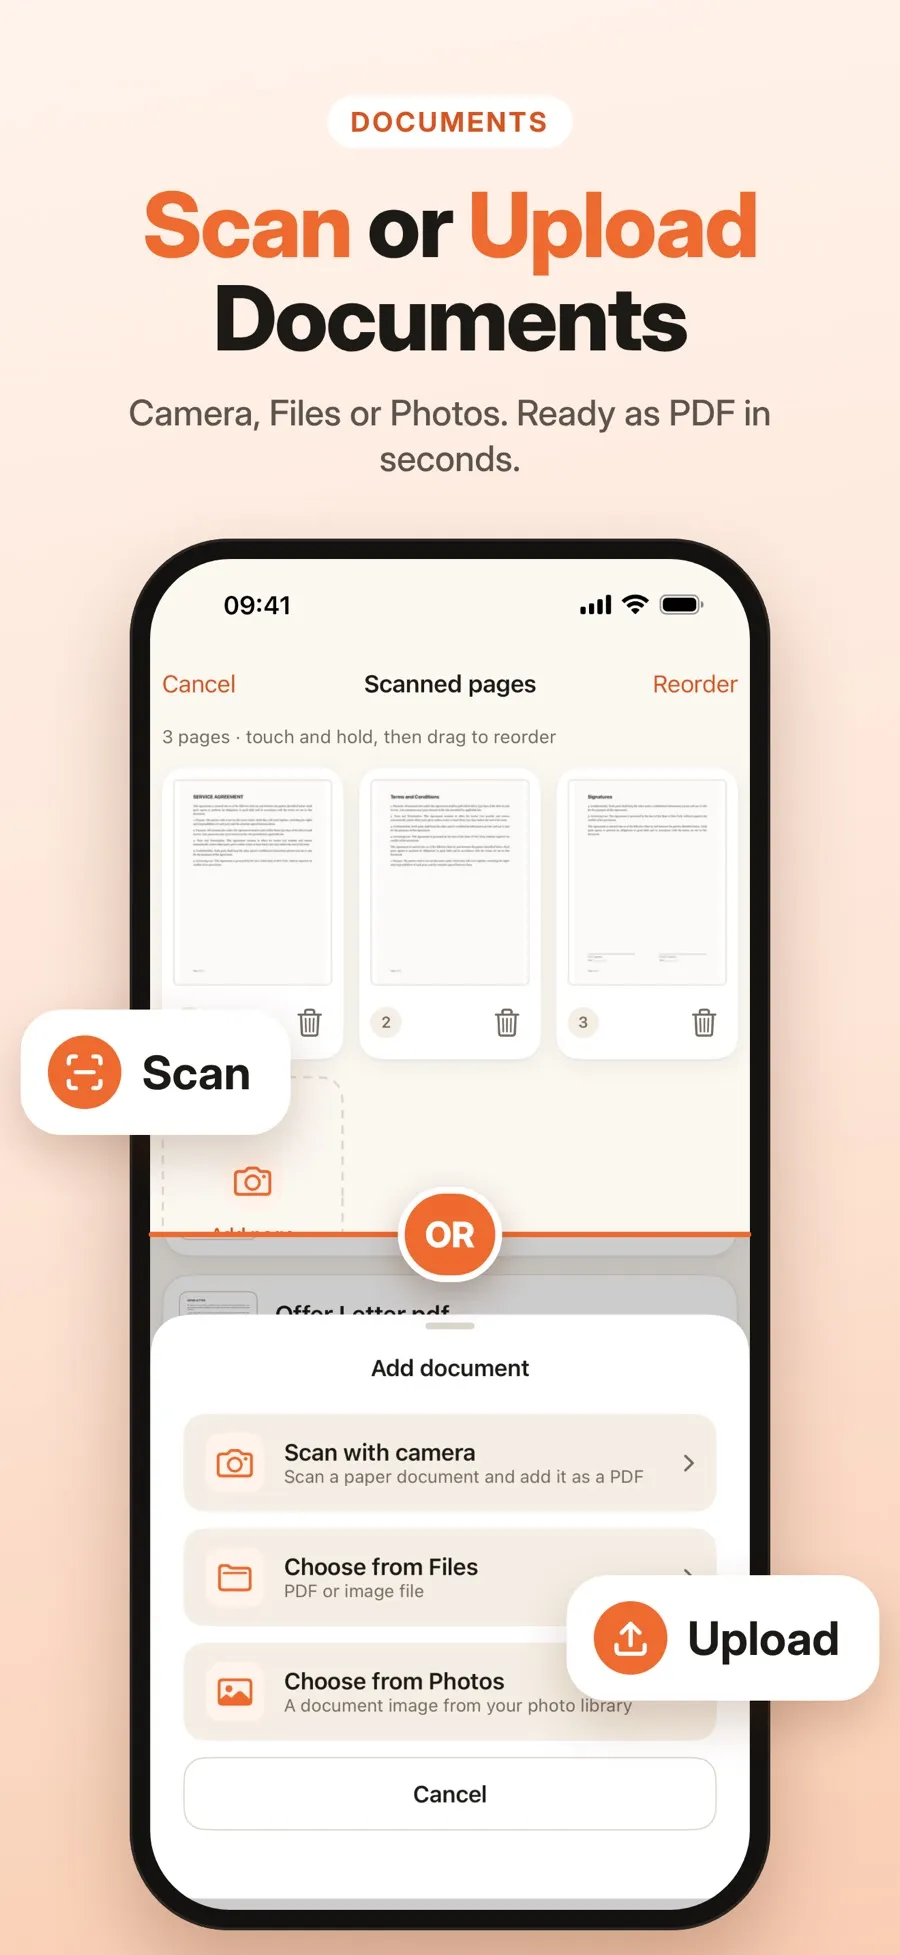
- Bring in any document. Open a PDF from Files, turn photos into a document, or scan paper pages with your iPad’s camera. Edges are found and the perspective is straightened, and you can reorder or delete pages.
- Place it where it belongs. Put your signature on any page, then move, resize or rotate it. You can add more than one signature to a document.
- Open eSign Documents and create your signature: draw it with your finger, or scan it from paper.
- Add your document: choose a PDF from Files, pick photos, or scan pages with the camera.
- Place your signature on the page, then move, resize or rotate it.
- Save a signed copy. The original file stays unchanged.
Signatures stay in a library for reuse, and you can save a draft and finish later. The download is free, and drawing, scanning, signing and drafts are included. Sharing a signed PDF or saving it to Files is part of Premium, a weekly or yearly subscription. Signed documents stay inside the app until you share them or save them to Files.
There’s no account to create. Your documents and signatures are stored on your iPad and aren’t uploaded to a server. On iPhone? See how to sign a PDF on iPhone.
Quick answers
Can I sign a document on iPad without an app?
Yes. Open the PDF in Files or tap the attachment in Mail, then tap the Add button and Add Signature. Your iPad saves the signature for next time.
Can I sign with Apple Pencil on iPad?
Yes. Apple’s Markup tools let you sign with your finger or Apple Pencil on supported iPad models.
How do I sign a paper document on iPad?
Scan it first. In the Camera app, tap Scan Document, save the scan to Files, then add your signature there. eSign Documents can also scan the pages and sign them in one place.
Is a signature added on iPad legally valid?
It depends on the document and the country. Markup and eSign Documents add an image of your handwritten signature, not a certificate-based digital signature. If you’re not sure, ask whoever requested the signature.
